
This guide provides the perfect dimensions and ratios for all elements of your Twitch stream. From profile pictures to emotes, this guide has you covered. These Twitch graphic sizes are based on the latest updates, and we will keep this article up to date with the latest changes.
Do you want to design your own Twitch graphics or make sure your current designs meet the new Twitch requirements?
Twitch is the world’s largest streaming social media network. As the popularity of content creation and video streaming services grows, Twitch is constantly evolving and expanding its reach. It is critical to create visually appealing Twitch channel graphics!
Here is a complete list of the recommended and maximum file sizes for Twitch images, along with the appropriate ratios and graphical sizes.
Reference table for twitch image sizes
| Graphic | Image Size (Pixels) | Max File Size |
|---|---|---|
| Twitch Banner Size | 1200 × 480 px | 10 MB |
| Twitch Profile Picture Size | 800 × 800 px | 10 MB |
| Twitch Overlay Size | 1920 × 1080 px | < 20 MB |
| Twitch Offline Screen Size | 1920 × 1080 px | 10 MB |
| Twitch Emote Size | 28 × 28, 56 × 56, 112 × 112 px | PNG: 25 KB each GIF: 1 MB max |
| Twitch Subscriber Badges | 18 × 18, 36 × 36, 72 × 72 px | 25 KB each |
| Twitch Thumbnail Size | 1280 × 720 px | 10 MB |
| Twitch Panel Size | 320 px wide, height flexible | 1 MB |
| Twitch Alert Box Size | 700 × 250 px | 10 MB |
| Twitch Webcam Size | 1920 × 1080 px Alt: 1280 × 720 (16:9) or 960 × 720 (4:3) |
10 MB |
Twitch banner size
The Twitch banner size you use is a key part of your channel branding. It appears at the top of your profile and needs to look sharp across all screen sizes, especially wide monitors and TVs.
On mobile and small screens, Twitch may crop your banner slightly. Keeping important content within the 900px safe zone ensures nothing gets cut off.
| Property | Recommendation |
|---|---|
| Recommended Size | 1200 × 480 px |
| Minimum Width | 900 px |
| Safe Design Zone | Left 900 × 480 px (avoid placing key text or logos on the right) |
| Max File Size | 10 MB |
| Aspect Ratio | 5:2 |
| File Types | JPG or PNG |
Twitch Banner Design Tips
- Use high-quality graphics with clear text and branding.
- Keep text and key visuals left-aligned to avoid being covered by the profile image.
- Stick to the 1200px × 480px size for best clarity across all devices.
- Avoid clutter, and maintain consistent fonts and colors with the rest of your channel branding.
- Compress large files with tools like TinyPNG to stay under the 10MB limit without losing quality.
- Many creators also search for the correct Twitch banners size, the standard is 1200 x 480 pixels (5:2 aspect ratio)
With a little planning and effort, you can create a Twitch banner that will help you build your brand and attract new viewers.

Frequently asked Twitch banner size questions
The recommended Twitch banner size is 1200 × 480 pixels, with a minimum width of 900 pixels. This ensures your banner appears sharp across all devices. Twitch displays banners at the top of your channel, and they must follow a 5:2 aspect ratio.
How do I make a Twitch banner?
To make a Twitch banner, follow these quick steps:
- Use the correct size: 1200 x 480 pixels.
- Match your branding: Use your stream name, logo, and colors.
- Design it: Use free tools like Canva or Photopea, or advanced tools like Photoshop.
- Keep it simple: Add your schedule or socials if needed, but avoid clutter.
- Save it as PNG or JPG: Keep the file under 10MB.
- Upload it: Go to your Twitch channel, click Customize Channel, then upload your banner in the Brand section.
Twitch profile picture size
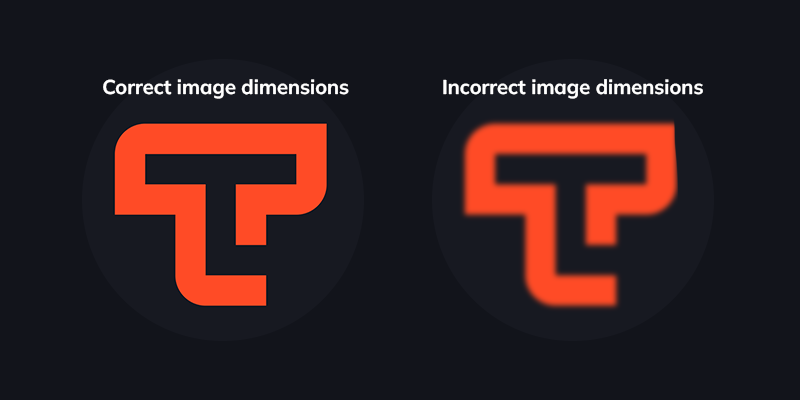
Your Twitch profile picture is a key part of your channel’s branding. It appears across your Twitch page, social media previews, email notifications, and even in search results. A strong profile image helps viewers recognize your channel quickly and adds to the overall professionalism of your stream.
The ideal size for a Twitch profile picture is 800 x 800 pixels. Uploading an image at this size ensures it displays clearly and avoids common scaling or upload issues. Twitch will resize the image in different areas of the site, so keep it clean and focused.
| Graphic | Recommended Dimensions | Max File Size |
|---|---|---|
| Profile Picture | 800 × 800 px (1:1 ratio) | 10 MB |
Where your profile picture appears
Your Twitch profile picture (also called a Twitch PFP or icon) shows up in many places, including:
- Your Twitch channel page
- The Twitch mobile app and directory
- Email updates sent to your followers
- Social media previews (Twitter, Discord, etc.)
- Google search when your stream is indexed
If no image is uploaded, Twitch will display a default Twitch PFP, typically a colored icon with the first letter of your username.
While Twitch displays profile avatars at 256 × 256 px, uploading at least 500 × 500 px (or 800 × 800 px for brand logos) ensures the image remains sharp after compression and across all devices.
Twitch profile picture design tips
- Use a clear, high-resolution image
Upload at least 500 x 500 px for your Twitch profile picture full size. Lower-resolution uploads may appear blurry, especially on larger displays. - Match your brand
Whether you’re using a Twitch logo or your face, aim for consistency with your overlays, Twitch panels, and banners. Logos typically work well at 800 x 800 px, saved as transparent PNG files. - Keep it simple
Avoid clutter. A clean Twitch icon size like 256 x 256 px or higher will look professional and scale well. - Fill the frame
Make sure your face, logo, or main design element is centered and occupies most of the image. - Be consistent across platforms
Use the same image across Twitch, YouTube, Twitter, Discord, and anywhere you promote your channel.
Bonus: Twitch Channel Point Icon Size
If you’re customizing channel rewards, your Twitch channel point icon size must be uploaded in three sizes:
112 x 112 px, 56 x 56 px, and 28 x 28 px, in PNG format with a transparent background.
Frequently asked Twitch Profile Picture questions.
We have received requests for animated profile pictures on Twitch. Currently, this is only possible through a third-party app called 7TV. This feature is a paid subscription, and only other users of 7TV will be able to see your animated profile picture.
Other platforms, such as Discord, are starting to support animated profile pictures. We have examples of this in our Discord size guide.
We are not currently planning to implement animated profile pictures on Twitch. However, we are always listening to feedback from our community, and we may consider this feature in the future.
- Navigate to twitch.tv and log into your account. Then click your profile icon in the top-right corner of the screen.
- Click profile photo again to be taken to your settings.
- Click “Update Profile Picture” (under the “Profile” section of your account settings).
- Select “Upload Photo” (or “Edit Current Thumbnail” if you want to simply re-crop your existing profile photo).
- Select the appropriate photo from your computer.
- Crop and rotate your profile photo as desired, then hit “Save.“
Twitch overlay size
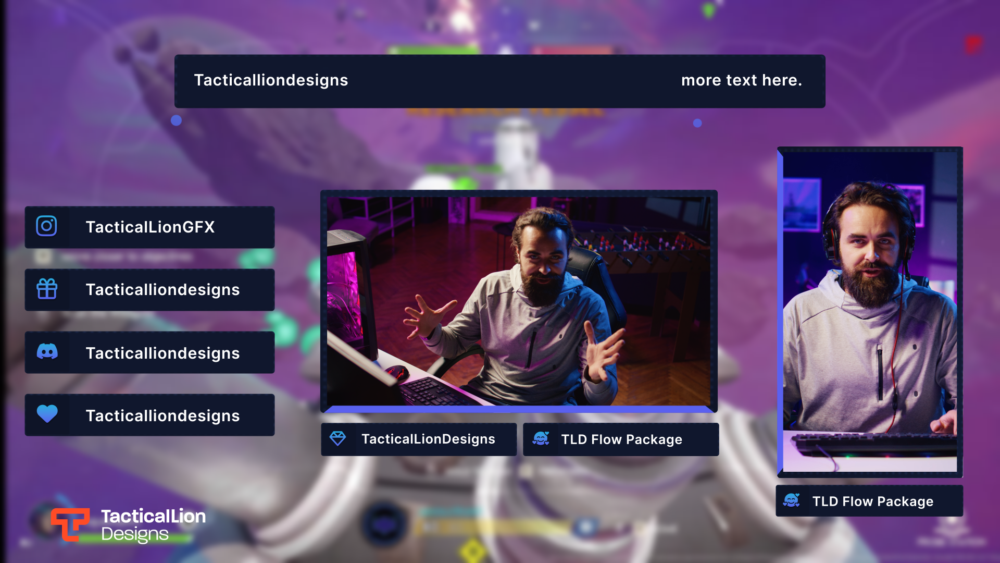
The webcam and overlay are two of the most important elements of a Twitch stream. They are what viewers will see first, and they can make or break a stream.
The webcam should be placed in a prominent location, but it should not be too large. Viewers should be able to see your face clearly, but they should not be distracted by the webcam.
The overlay should be used to provide information to viewers, such as your name, the game you are playing, and your social media handles. It should be designed to be unobtrusive and to enhance the viewing experience.
If you need overlays that match these dimensions, we’ve created a full set of free Twitch overlays you can download instantly. They’re designed for OBS, Streamlabs, XSplit, and other popular tools.
| Recommended Size | Webcam Aspect Ratios |
|---|---|
| 1920 × 1080 px (Base canvas) | 16:9 (standard) or 4:3 (compact) |
Twitch overlay design tips
- Use a 16:9 aspect ratio. This is the standard aspect ratio for Twitch streams.
- Use a webcam that is at least 720p resolution. This will ensure that your webcam image is sharp and clear.
- Place the webcam in the upper-left or upper-right corner of your screen. This will give viewers a good view of your face without taking up too much space.
- Use an overlay that is designed for your specific game. There are many free and paid overlays available online.
- Keep the overlay simple. You don’t want to overwhelm viewers with too much information.
- Test your webcam and overlay settings before you go live. This will help you to ensure that everything is working properly.
With a little planning and effort, you can get the webcam and overlay dimensions correct and create a stream that is visually appealing and engaging.
Frequently asked Twitch overlay questions
A Twitch overlay is a graphic layout that sits on top of your live stream. It includes elements like webcam frames, alerts, and panels that help personalize your stream, improve the viewer experience, and make your channel look more professional. Overlays are used in OBS, Streamlabs, and other streaming software.
To show Twitch chat while playing a game, you need third-party software. Here are the common options:
- OBS Studio (with plugins): Use a chat dock or browser source overlayed on a second monitor.
- Streamlabs: Built-in chat overlay that can be placed in your streaming layout.
- Twitch Studio: Offers an in-game chat overlay if you’re using the built-in Twitch software.
- Overwolf / Chatty / Steam Deck (with plugins): These tools can show a transparent chat overlay directly in your game.
Most streamers use a second screen or device to monitor chat, but overlays can help if you’re gaming on one monitor.
Twitch offline screen size
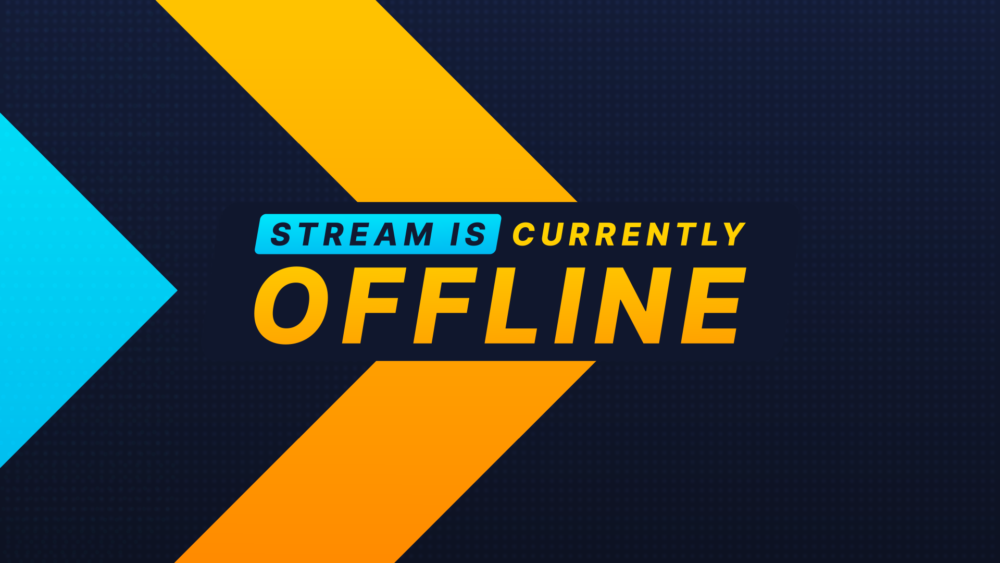
A Twitch offline screen is a static image that shows on your channel when you’re not live. It helps keep your stream looking professional and gives viewers helpful info even when you’re offline.
The recommended Twitch offline screen size is 1920 x 1080 pixels, which matches the standard 16:9 aspect ratio used by most streams and monitors. This ensures your offline screen looks sharp and scales properly on all devices.
Offline screens can display your logo, social media links, stream schedule, or a short message letting viewers know when you’ll be back. They’re a simple but powerful way to stay connected with your audience between streams.
| Recommended Size | Max File Size |
|---|---|
| 1920 × 1080 px | 10 MB |
Tips for designing a great Twitch offline screen
- Use clear, high-quality graphics that reflect your brand.
- Keep things simple and easy to read — avoid clutter and too much text.
- Stick to colors and fonts that match your overall stream branding.
- Include social links so viewers can stay connected outside of Twitch.
- Add a brief message or schedule so people know when you’ll be back.
- Update your offline screen if your content or branding changes.
Best practices for Twitch offline screen size and usage
- The Twitch video player banner size is 1920 x 1080 pixel resolution (16:9 aspect ratio).
- You can reuse your offline screen as a Starting Soon, BRB, or Ending screen with small tweaks.
- A well-designed offline screen helps you stay connected, even when you’re not live.
With a little planning and effort, you can create an offline screen that will help you build your brand and attract new viewers.
Frequently asked Twitch offline screen questions
To change your Twitch offline screen:
- Go to your Twitch channel.
- Click Customize Channel.
- Open the Brand tab.
- Under Video Player Banner, upload your new offline screen (recommended size: 1920 x 1080 pixels).
- Click Save.
Your offline screen will now appear when you’re not live.
To make an offline screen for Twitch:
- Use the correct size: 1920 x 1080 pixels.
- Include key info: Your logo, stream name, social links, and a message like “Stream is offline.”
- Design it in a tool: Canva, Photoshop, or Photopea all work well.
- Save as JPG or PNG: Keep the file under 10MB.
Once made, upload it in the Brand tab of your Twitch channel settings.
Twitch emote sizes and templates
Twitch emotes need to be uploaded in three sizes: 28 × 28, 56 × 56, and 112 × 112 pixels.
For full details, design tips, templates, and upload walkthroughs, check out our Twitch Emote Size Guide.
| Recommended Sizes | Format | Max File Size |
|---|---|---|
| 28 × 28, 56 × 56, 112 × 112 px | PNG (static) | 25KB each |
| 28 × 28, 56 × 56, 112 × 112 px | GIF (animated) | 1MB total (60 frames max) |
Twitch subscriber badges
Twitch subscriber badges are small icons that appear next to a viewer’s name in chat when they subscribe to your channel. They’re a simple way to reward loyalty and build a stronger sense of community on your stream.
Badges don’t require Twitch approval, so once you design them, you can upload and start using them immediately. Just make sure they follow the correct format and size.
| Badge Size | Pixel Dimensions | Max File Size |
|---|---|---|
| Small | 18 × 18 px | 25KB |
| Medium | 36 × 36 px | |
| Large | 72 × 72 px |
Tips for designing great Twitch subscriber badges
- Keep it recognizable: Your badge should be clear and readable even at small sizes.
- Match your brand: Use your channel’s colors, fonts, or icon style for consistency.
- Make each tier distinct: Help subscribers feel progression by designing different badges for each loyalty milestone.
- Use transparency wisely: A transparent background ensures your badge works on both light and dark themes.
- Twitch sub badge sizes must be uploaded at 18×18, 36×36, and 72×72 px. These badge dimensions apply to all Twitch subscriber badge uploads, regardless of what sub badge size Twitch recommends.
Best practices for Twitch subscriber badge size and format
- Save badges in PNG format, it’s the only format Twitch accepts.
- You must upload three sizes: 112×112, 56×56, and 28×28 pixels.
- Each badge should be under 25KB and look sharp at all resolutions.
- Twitch allows you to assign unique badges for each sub duration (1-month, 2-month, 6-month, etc.).
With a little effort, your subscriber badges can become a memorable part of your stream identity and give fans something to be proud of.
Frequently asked Twitch subscriber badge questions
To change your subscriber badge on Twitch:
- Go to your Creator Dashboard.
- Click Viewer Rewards > Subscriber Badges.
- Upload your badge images (sizes: 18×18, 36×36, and 72×72 pixels).
- Assign badges to each loyalty month (1-month, 2-month, etc.).
- Click Save.
Your new sub badges will automatically show for subscribers based on how long they’ve supported you.
A founder badge is a special icon given to the first 10 or 25 subscribers of a Twitch Affiliate or Partner channel. It replaces the regular subscriber badge and shows they were among the channel’s earliest supporters. Founders keep this badge permanently, even if their subscription lapses.
Twitch thumbnail size
A custom Twitch thumbnail is the first thing viewers see when they browse your past broadcasts. A strong thumbnail can grab attention, boost clicks, and keep your VODs looking professional and engaging even when you’re offline.
Twitch thumbnails should follow the recommended 16:9 aspect ratio and be sized correctly to display clearly across all devices.
| Recommended Size | Max File Size |
|---|---|
| 1280 × 720 px | 10 MB |
Tips for designing eye-catching Twitch thumbnails
- Use high-quality images that are sharp and easy to recognize — avoid anything blurry or pixelated.
- Stick to bold colors and clean fonts that make your thumbnail pop on the page.
- Highlight the game or content so viewers immediately know what your VOD is about.
- Add short, relevant text like the game title or a catchy phrase — but don’t overcrowd it.
- Keep the layout simple, with clear focus and minimal distractions.
Best practices for Twitch thumbnail size and format
- Save your thumbnail as a PNG or JPEG. Both are supported by Twitch.
- Use a 16:9 ratio, ideally sized at 1920 x 1080 pixels for full HD quality.
- Avoid clutter, thumbnails should still look good when scaled down.
- Use them as a chance to show off your personality or branding consistently.
With the right design, your Twitch thumbnails can turn casual browsers into returning viewers.
Frequently asked Twitch thumbnail questions
To make a Twitch thumbnail (usually for VODs or highlights):
- Size: Use 1280 x 720 pixels (16:9 ratio).
- Design it: Include bold text, your face or logo, and colors that match your branding.
- Tools to use: Canva, Photoshop, or Photopea all work well.
- Save as JPG or PNG: Keep it under 10MB for easy upload.
Twitch doesn’t let you set a thumbnail for live streams manually. However:
- For VODs or highlights, go to your Video Producer, click the three dots next to a video, and select Edit.
- Under Thumbnail, upload your custom image or choose a frame from the video.
- Click Save Changes.
Live thumbnails are auto-generated based on your current stream.
Twitch panel sizes and free downloads
If you’re looking specifically for Twitch panel sizes, layout tips, or help designing panels that match your brand, we’ve got a full guide just for that.
Learn the ideal dimensions for channel panels, how to optimize their layout, and download a full set of free Twitch panels to get started. We also showcase premium packs for creators who want a polished, pro-level design.
Explore everything in our dedicated Twitch Panels Size Guide.
Twitch alert size
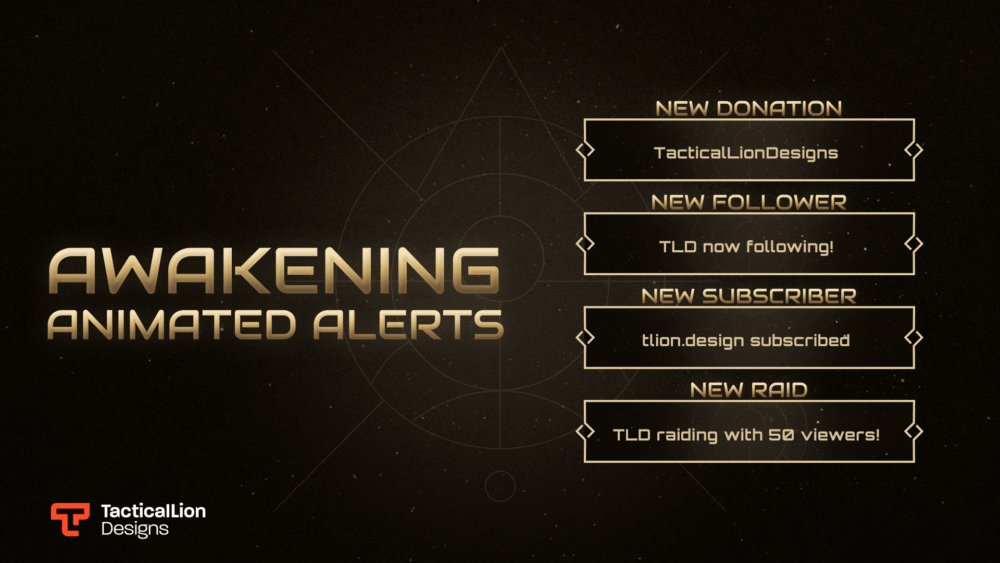
Twitch alerts are visual popups that appear during your stream when viewers follow, subscribe, donate, or interact in other ways. Designing alerts that look great and load quickly can make a big impact on your stream’s quality and viewer experience.
To avoid lag or performance issues in OBS, it’s best to keep alert file sizes lightweight and properly optimized.
| Recommended Size | Max File Size |
|---|---|
| 700 × 250 px | 10 MB |
Best practices for Twitch alert file size and format
- Aim to keep alert files under 2–3MB for smooth performance, even though Streamlabs allows up to 10MB and StreamElements up to 30MB.
- Use .webM format for animated alerts, it supports transparency and small file sizes.
- Avoid using GIFs for animations, they don’t compress well and can cause stuttering.
- For static alerts, use transparent PNGs to blend cleanly into your stream layout.
Tips for designing effective stream alerts
- Keep it simple: Alerts should be clear and easy to understand at a glance.
- Use bright colors and bold fonts to grab attention when they appear on screen.
- Match your style: Alerts are a chance to reinforce your stream’s branding and personality.
- Always test before going live to make sure animations work and nothing breaks mid-stream.
With clean design and the right file format, your Twitch alerts can enhance your stream without slowing it down.
Frequently asked Twitch alerts questions
To set up Twitch alerts, you’ll need streaming software like OBS Studio or Streamlabs:
- Create a free account on Streamlabs, Streamelements, or a similar alert platform.
- Customize your alert style (follower, sub, donation, etc.).
- Copy the alert box URL.
- In OBS or Streamlabs, add a Browser Source and paste the alert URL.
- Position and resize the alert on your stream layout.
Now, when someone follows or subscribes, the alert will appear on your stream.
To make custom Twitch alerts:
- Design your visuals: Use GIFs, images, or animations that match your brand.
- Add sound effects: Short MP3 clips work best (under 10 seconds).
- Upload to a platform: Use Streamlabs or Streamelements to upload and configure each alert.
- Test and adjust: Make sure they’re timed well and not too distracting.
Custom alerts help your stream stand out and make your interactions more engaging.
Twitch webcam size
Choosing the right Twitch webcam size depends on your content, layout, and personal streaming style. Some streamers prefer a large, professional-looking webcam, while others go for a smaller, more subtle look that doesn’t interfere with gameplay or overlays.
While there’s no one-size-fits-all recommendation, it’s best to start with a high resolution and scale down as needed to fit your scene layout.
| Recommended Size | Webcam Aspect Ratios |
|---|---|
| 1920 × 1080 px | 16:9 (wide) or 4:3 (compact) |
Tips for selecting the right webcam size
- Match your stream style: Casual streams might suit a smaller webcam, while professional layouts can benefit from a larger presence.
- Think about scene setup: If you switch between layouts often, a smaller cam helps prevent screen clutter.
- Avoid UI overlap: Games with busy HUDs or in-game elements may require downsizing the webcam to avoid covering important visuals.
Recommended Twitch webcam resolutions
- 16:9 webcam: 1920 x 1080 pixels (most common)
- 4:3 webcam: 1600 x 1200 pixels (for tighter crops or retro aesthetics)
With a little experimentation, you can find the perfect Twitch webcam size that complements your stream without getting in the way.
Frequently asked Twitch webcam size questions
Yes, you can use your phone as a webcam for Twitch. Here’s how:
- Install a webcam app: Use apps like EpocCam, DroidCam, or OBS Camera.
- Connect to your PC: Use Wi-Fi or a USB cable.
- Add it to OBS or Streamlabs: Your phone will appear as a camera source.
- Place it like a webcam: Use a tripod or phone stand for the best angle.
It’s a great option if you don’t have a dedicated webcam.
To use a webcam while streaming on Twitch:
- Open OBS Studio or Streamlabs.
- Add a new source, and choose Video Capture Device.
- Select your webcam from the device list.
- Resize and position it on your layout (usually a corner).
- Start streaming — your webcam will now appear live.
Most USB webcams are plug-and-play and work without extra setup.
Final Thoughts: Why Twitch Graphic Sizes Matter
Getting your Twitch graphic sizes right is not just a technical step, it’s one of the easiest ways to make your stream look clean, professional, and viewer-friendly. When your visuals fit perfectly, your layout feels polished and your content stays the focus.
This guide is built on Twitch’s official guidelines, but we’ve gone a step further. With years of hands-on experience designing overlays, alerts, and full branding systems for streamers, our team has improved on those specs to reflect real streaming conditions.
Trusted by Twitch. Improved by stream design experts.
Why It’s Worth Following These Guidelines
- Your stream looks more professional
A polished layout builds trust and helps you stand out - Nothing important gets cut off
Using the correct sizes keeps your info sharp and fully visible - Your content is easier to watch
Clean visuals improve engagement and viewer retention
Next Steps to Upgrade Your Stream
- Browse our Twitch overlay store for ready-to-use designs
- Need something custom? Work with our design team on a setup tailored to your stream
- Prefer to do it yourself? Use the sizes above with tools like Canva, Photopea, or Photoshop
No matter how you build your stream, using the right Twitch graphic sizes and trusted design practices gives you an edge. Keep this guide bookmarked for future upgrades.
Related Guides and Tools
Want to build a complete stream setup? These guides and tools will help you design your Twitch channel with the right sizes, formats, and visuals.
🔗 Twitch Panels Guide
Learn the correct size and layout for your Twitch panels and how to design a panel section that stands out and matches your branding.
🔗 Free Twitch Overlays
Download high-quality overlays for OBS, Streamlabs, and more. No signup needed — just clean, stream-ready designs you can start using today.
🔗 Twitch Emote Size Guide
Find the perfect emote dimensions, formats, and upload rules to ensure your custom emotes look sharp and scale correctly.
🔗 Twitch Emote Resizer Tool
Upload once and export perfect 28px, 56px, and 112px emote files instantly. Ideal for artists and streamers alike.
🔗 Kick Graphic Size Guide
If you’re also streaming on Kick, this guide will walk you through all the correct sizing for overlays, banners, and more.